
Step 3 – Install Your Website
Installing your website on AISO is easy:
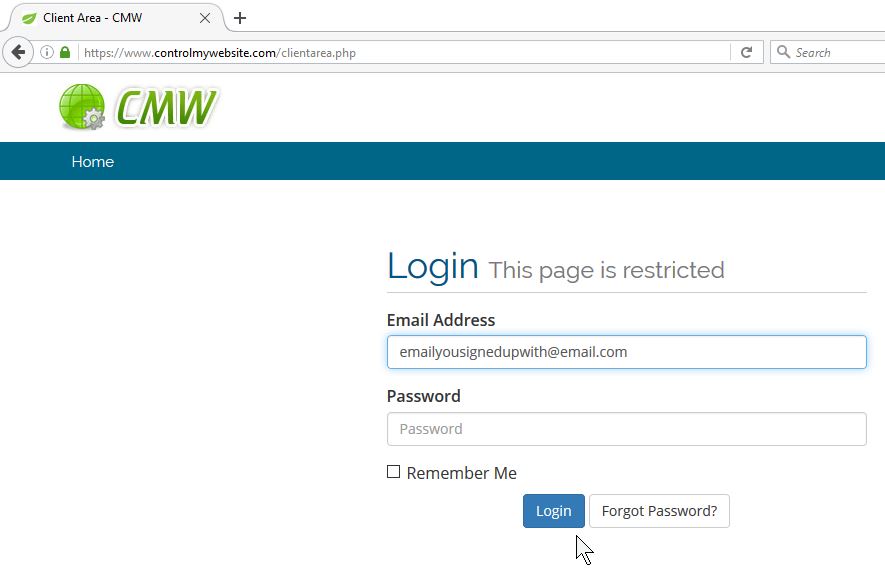
After you sign up and receive your welcome email, following your welcome email intructions, log into your controlmywebsite.com account:
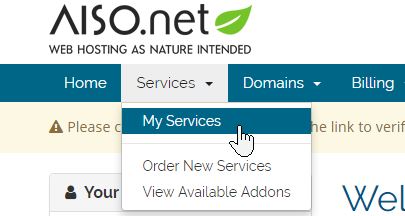
You can access your web-hosting service from the menu under ‘Services’ -> ‘My Services’:
Before you can install your website, you need to make sure you either pointed your existing domain name to your web-host account or bought one from AISO, both of which should have been done in the prior step.
- You then click anywhere on your service within the box or the green ‘Active’ box (but not the link). This will bring up the ‘Manage Product’ page

- After clicking the active button, this next page is where you can get all the information you need for your website as well as setup various aspects of your web-hosting like email accounts or add additional websites (you get 10 to 20 WordPress websites per account, as per how many databases you get with account), etc.
- Click on the ‘Auto Install Applications’ link among the list of settings.

- For our purposes, we’ll be installing WordPress, the most popular and widely used content management system out there. The biggest and smallest of companies use WordPress for their website and/or blog.
- Click on ‘WordPress’ in the second section of this ‘Auto Install Applactions’ page

- It’s under ‘Apps for Content Management’, you see ‘WordPress’ as the first choice.
- Click on ‘Install this Application’ near the top right of the page.
- Leave most of the settings default, except MAKE SURE YOU KNOW your administrator username and password!
- Make sure that’s your correct domain, and don’t install it in a directory.
- Under the ‘Settings’ section, make sure you remember or write down your username
- Then click ‘Show Password’ and remember or write down that password.
- You can turn off ‘Two-factor Authentication’ with Clef not enabled for now.
- Click the ‘Install’ button. Then Log into your website.
- It will process and install the website for you.
- It will allow you to log into your website after it is complete.

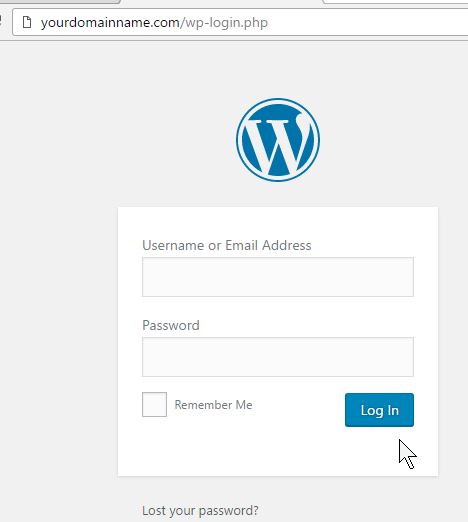
If you ever need to log back into your website, you can find type your log-in link like this (replace in your domain name as appropriate) into your web-browser:
http://yourwebsitename.com/wp-login.php
The key is that /wp-login.php right after your domain name.
In our next section, we’ll customize your website!